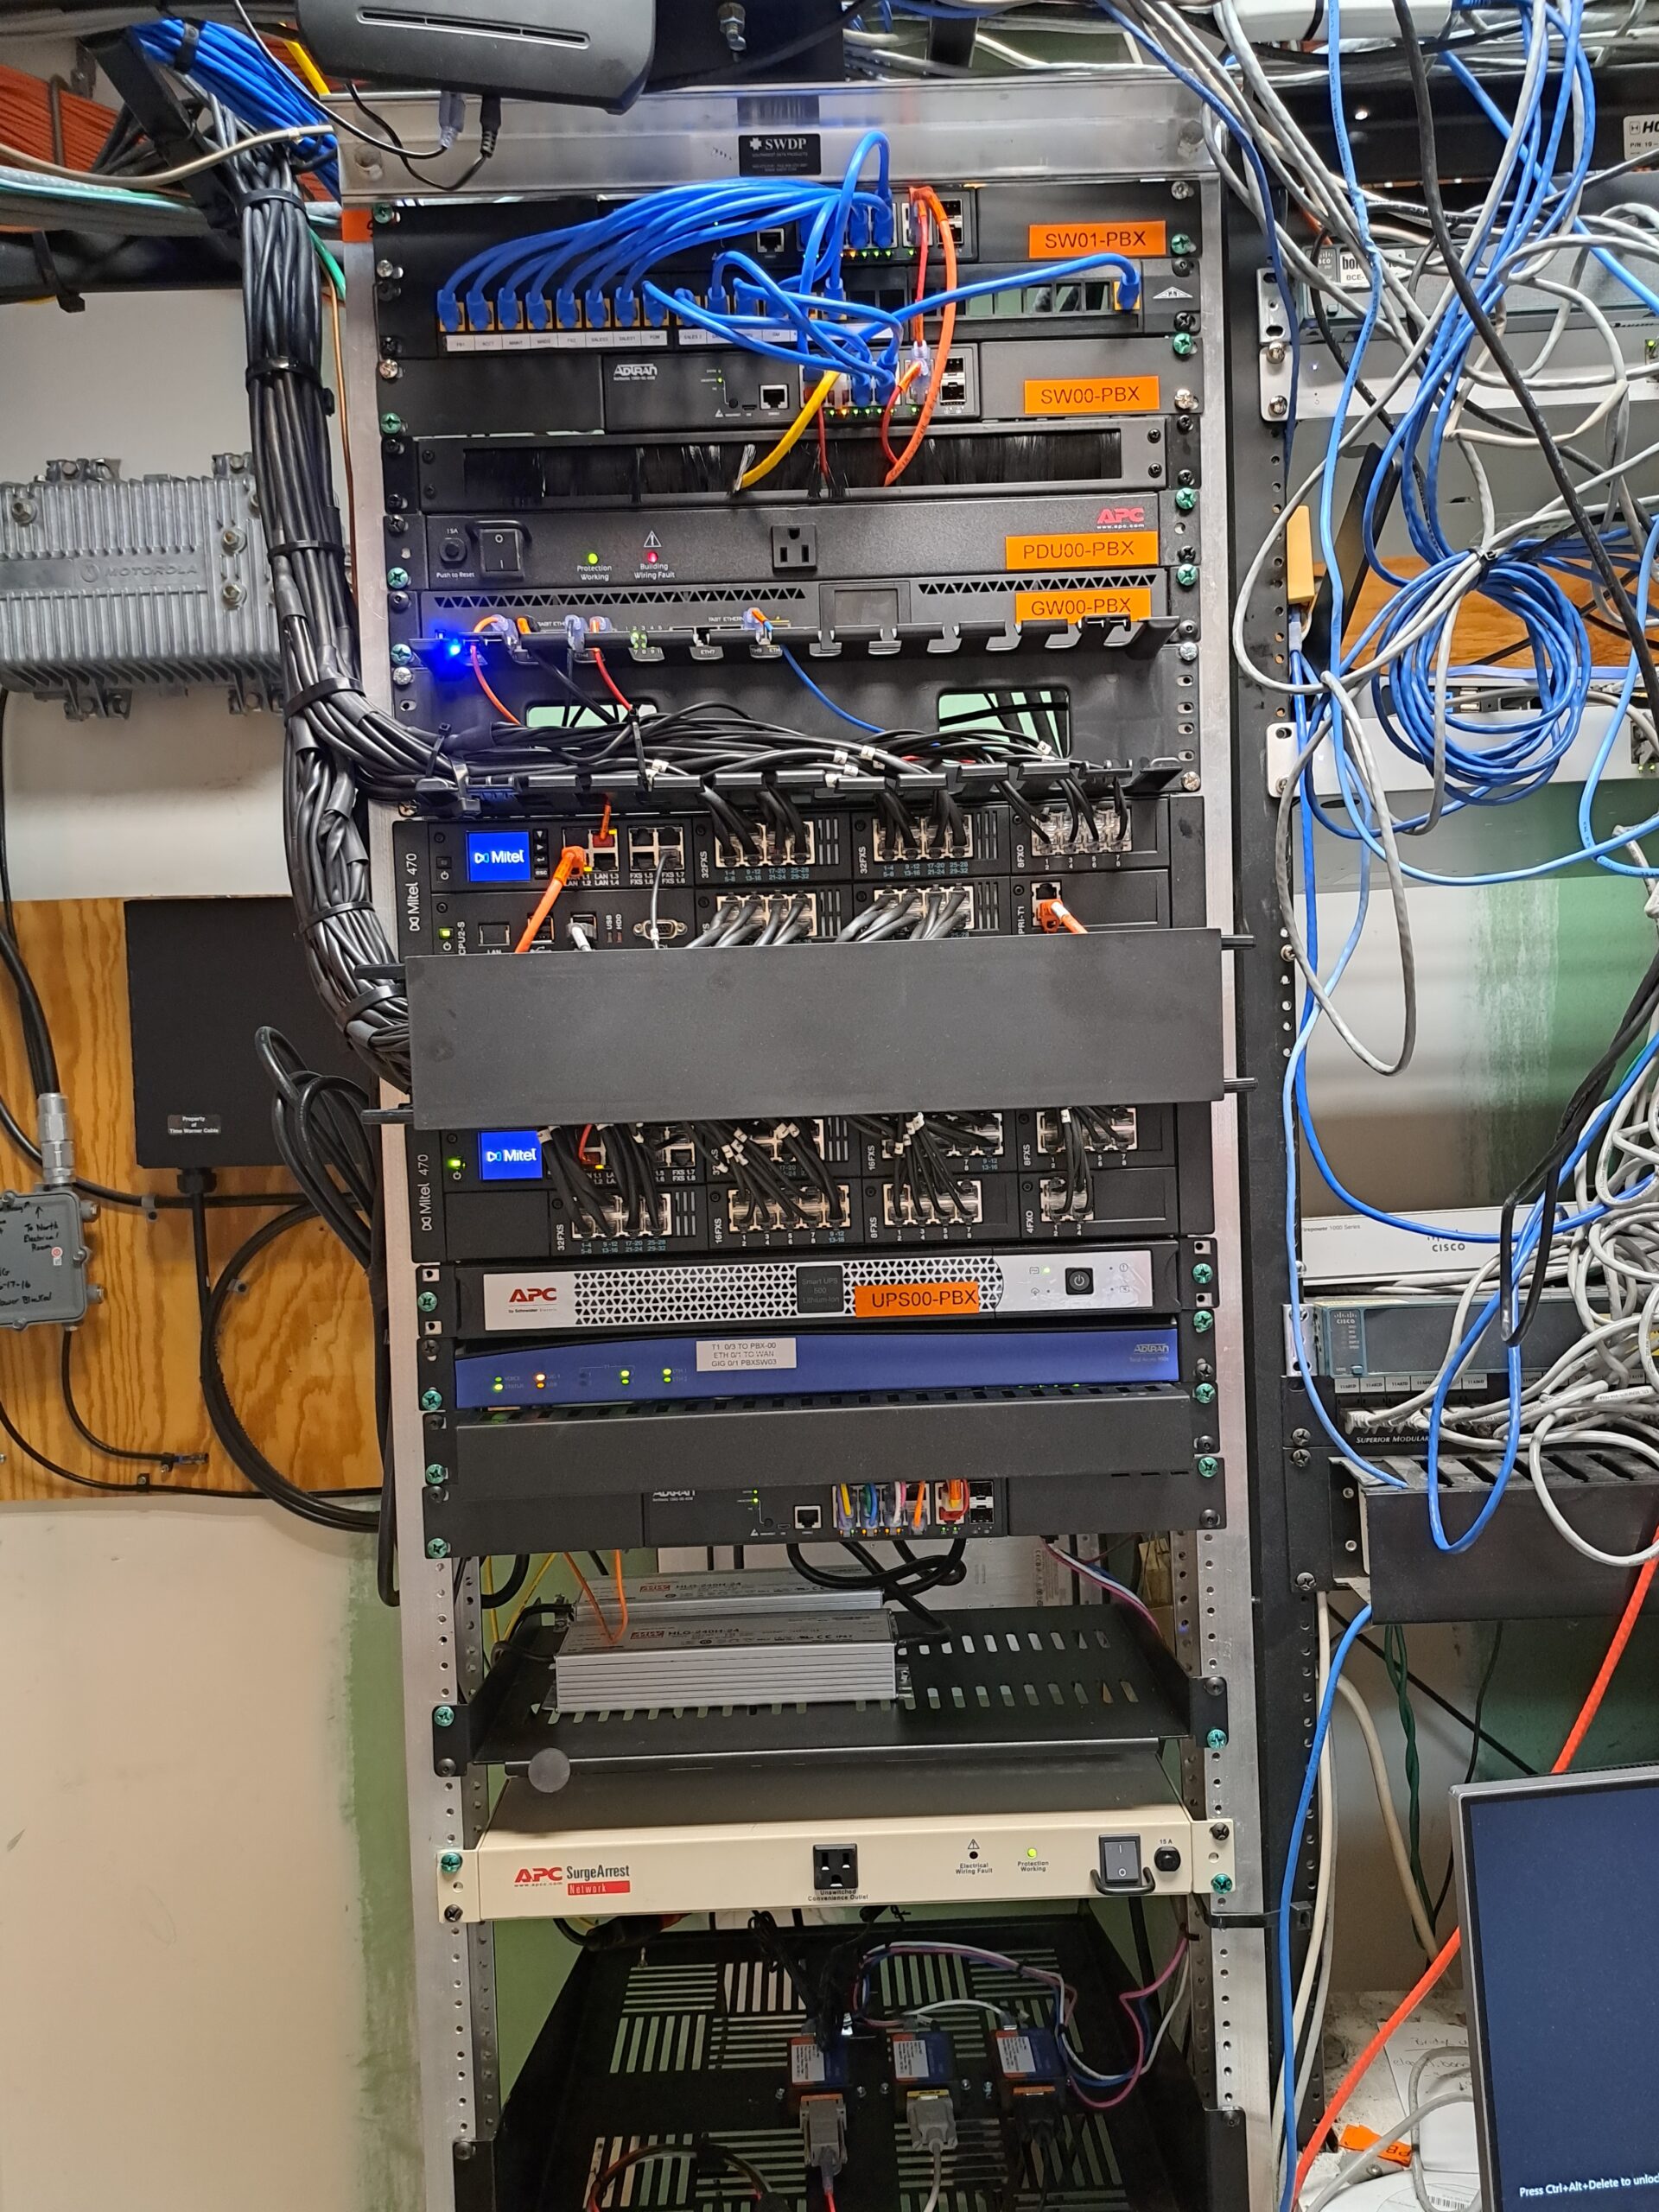
When working with T1 lines, creating a proper crossover cable is crucial for establishing a stable and reliable connection. T1 lines transmit data at 1.544 Mbps using pairs of wires. Making a T1 crossover cable involves reversing specific wire pairs in a standard twisted-pair cable to enable devices to transmit and receive signals correctly. This article will guide you through the process of making a T1 crossover cable and discuss the appropriate cable types, including the suitability of Cat 5e for short T1 extensions.
Table of Contents
Materials You Will Need
- Twisted-Pair Cable: Typically, Cat 5e or Cat 6 cables are used for T1 crossover cables.
- RJ-45 Connectors: Two connectors, one for each end of the cable.
- Crimping Tool: To crimp the RJ-45 connectors onto the cable.
- Cable Tester (optional): To verify that the cable functions correctly.
Step 1: Cut the Cable to Length
Determine the appropriate length for your T1 crossover cable. Cut the twisted-pair cable to the desired length using cable cutters. It’s often a good idea to leave a little extra length just in case.
Step 2: Strip the Outer Jacket
Using a cable stripper, remove about 1 inch of the outer jacket from both ends of the cable. Be careful not to nick or cut the inner wires while stripping the jacket.
Step 3: Untwist the Pairs
Inside the cable, you’ll find four twisted pairs of wires (eight wires in total). Untwist these pairs slightly to give yourself some working room.

Step 4: Arrange the Wires
For a T1 crossover cable, you will need to cross over the transmit and receive pairs. The standard T1 pinout is as follows:
- Pin 1: Transmit Data + (TD+)
- Pin 2: Transmit Data – (TD-)
- Pin 4: Receive Data + (RD+)
- Pin 5: Receive Data – (RD-)
For the crossover:
- Pin 1 on one end should connect to Pin 4 on the other end.
- Pin 2 on one end should connect to Pin 5 on the other end.
- Pin 4 on one end should connect to Pin 1 on the other end.
- Pin 5 on one end should connect to Pin 2 on the other end.
This wiring configuration effectively swaps the transmit and receive pairs, allowing the devices to communicate.
Step 5: Insert the Wires into RJ-45 Connectors
Holding the RJ-45 connector with the clip facing down, carefully insert the wires into the connector in the correct order. Ensure that each wire goes all the way to the end of the connector and is seated properly.
Step 6: Crimp the Connector
Using the crimping tool, crimp the RJ-45 connector onto the cable. Ensure that the connector is securely attached and that the wires make solid contact with the metal pins inside the connector.
Step 7: Repeat for the Other End
Repeat the process for the other end of the cable, ensuring that the wires are inserted and crimped according to the T1 crossover configuration.
Step 8: Test the Cable
If you have a cable tester, use it to verify that your T1 crossover cable is wired correctly and that there are no shorts or open connections. This step is optional but highly recommended to avoid connectivity issues.
Understanding Cable Suitability: Is Cat 5e Suitable for T1 Lines?
When selecting the right cable for T1 lines, it’s important to understand the limitations and suitability of different types of cables. Cat 5e cables are commonly used for Ethernet networks, but are they suitable for T1 connections?
According to Quabbin’s technical brief, Cat 5e cables are generally considered unsuitable for T1 extensions over long distances due to their construction and impedance characteristics. T1 lines require cables with specific impedance to minimize signal loss and interference, typically 100-ohm cables.
However, the brief notes that Cat 5e can be suitable for short T1 extensions, particularly when the distance is minimal and the cable is properly shielded. Specifically, by “short distances,” they mean runs of less than 150 meters. Within this range, Cat 5e can perform adequately for T1 applications, especially when environmental factors like electromagnetic interference (EMI) are minimal.
Conclusion
Creating a T1 crossover cable is a straightforward process that requires careful attention to wiring details. While Cat 5e cables can be used for short T1 extensions, especially for distances under 150 meters, it’s essential to understand the limitations and ensure that the cable is suitable for your specific application. For longer runs or more demanding environments, consider using a cable specifically designed for T1 lines. Personally, I only use Cat 5e for runs up to 15 feet and typically do not run into longer runs.
By following the steps outlined in this article, you’ll be able to create a reliable T1 crossover cable that meets your needs, ensuring smooth and stable T1 connectivity.

