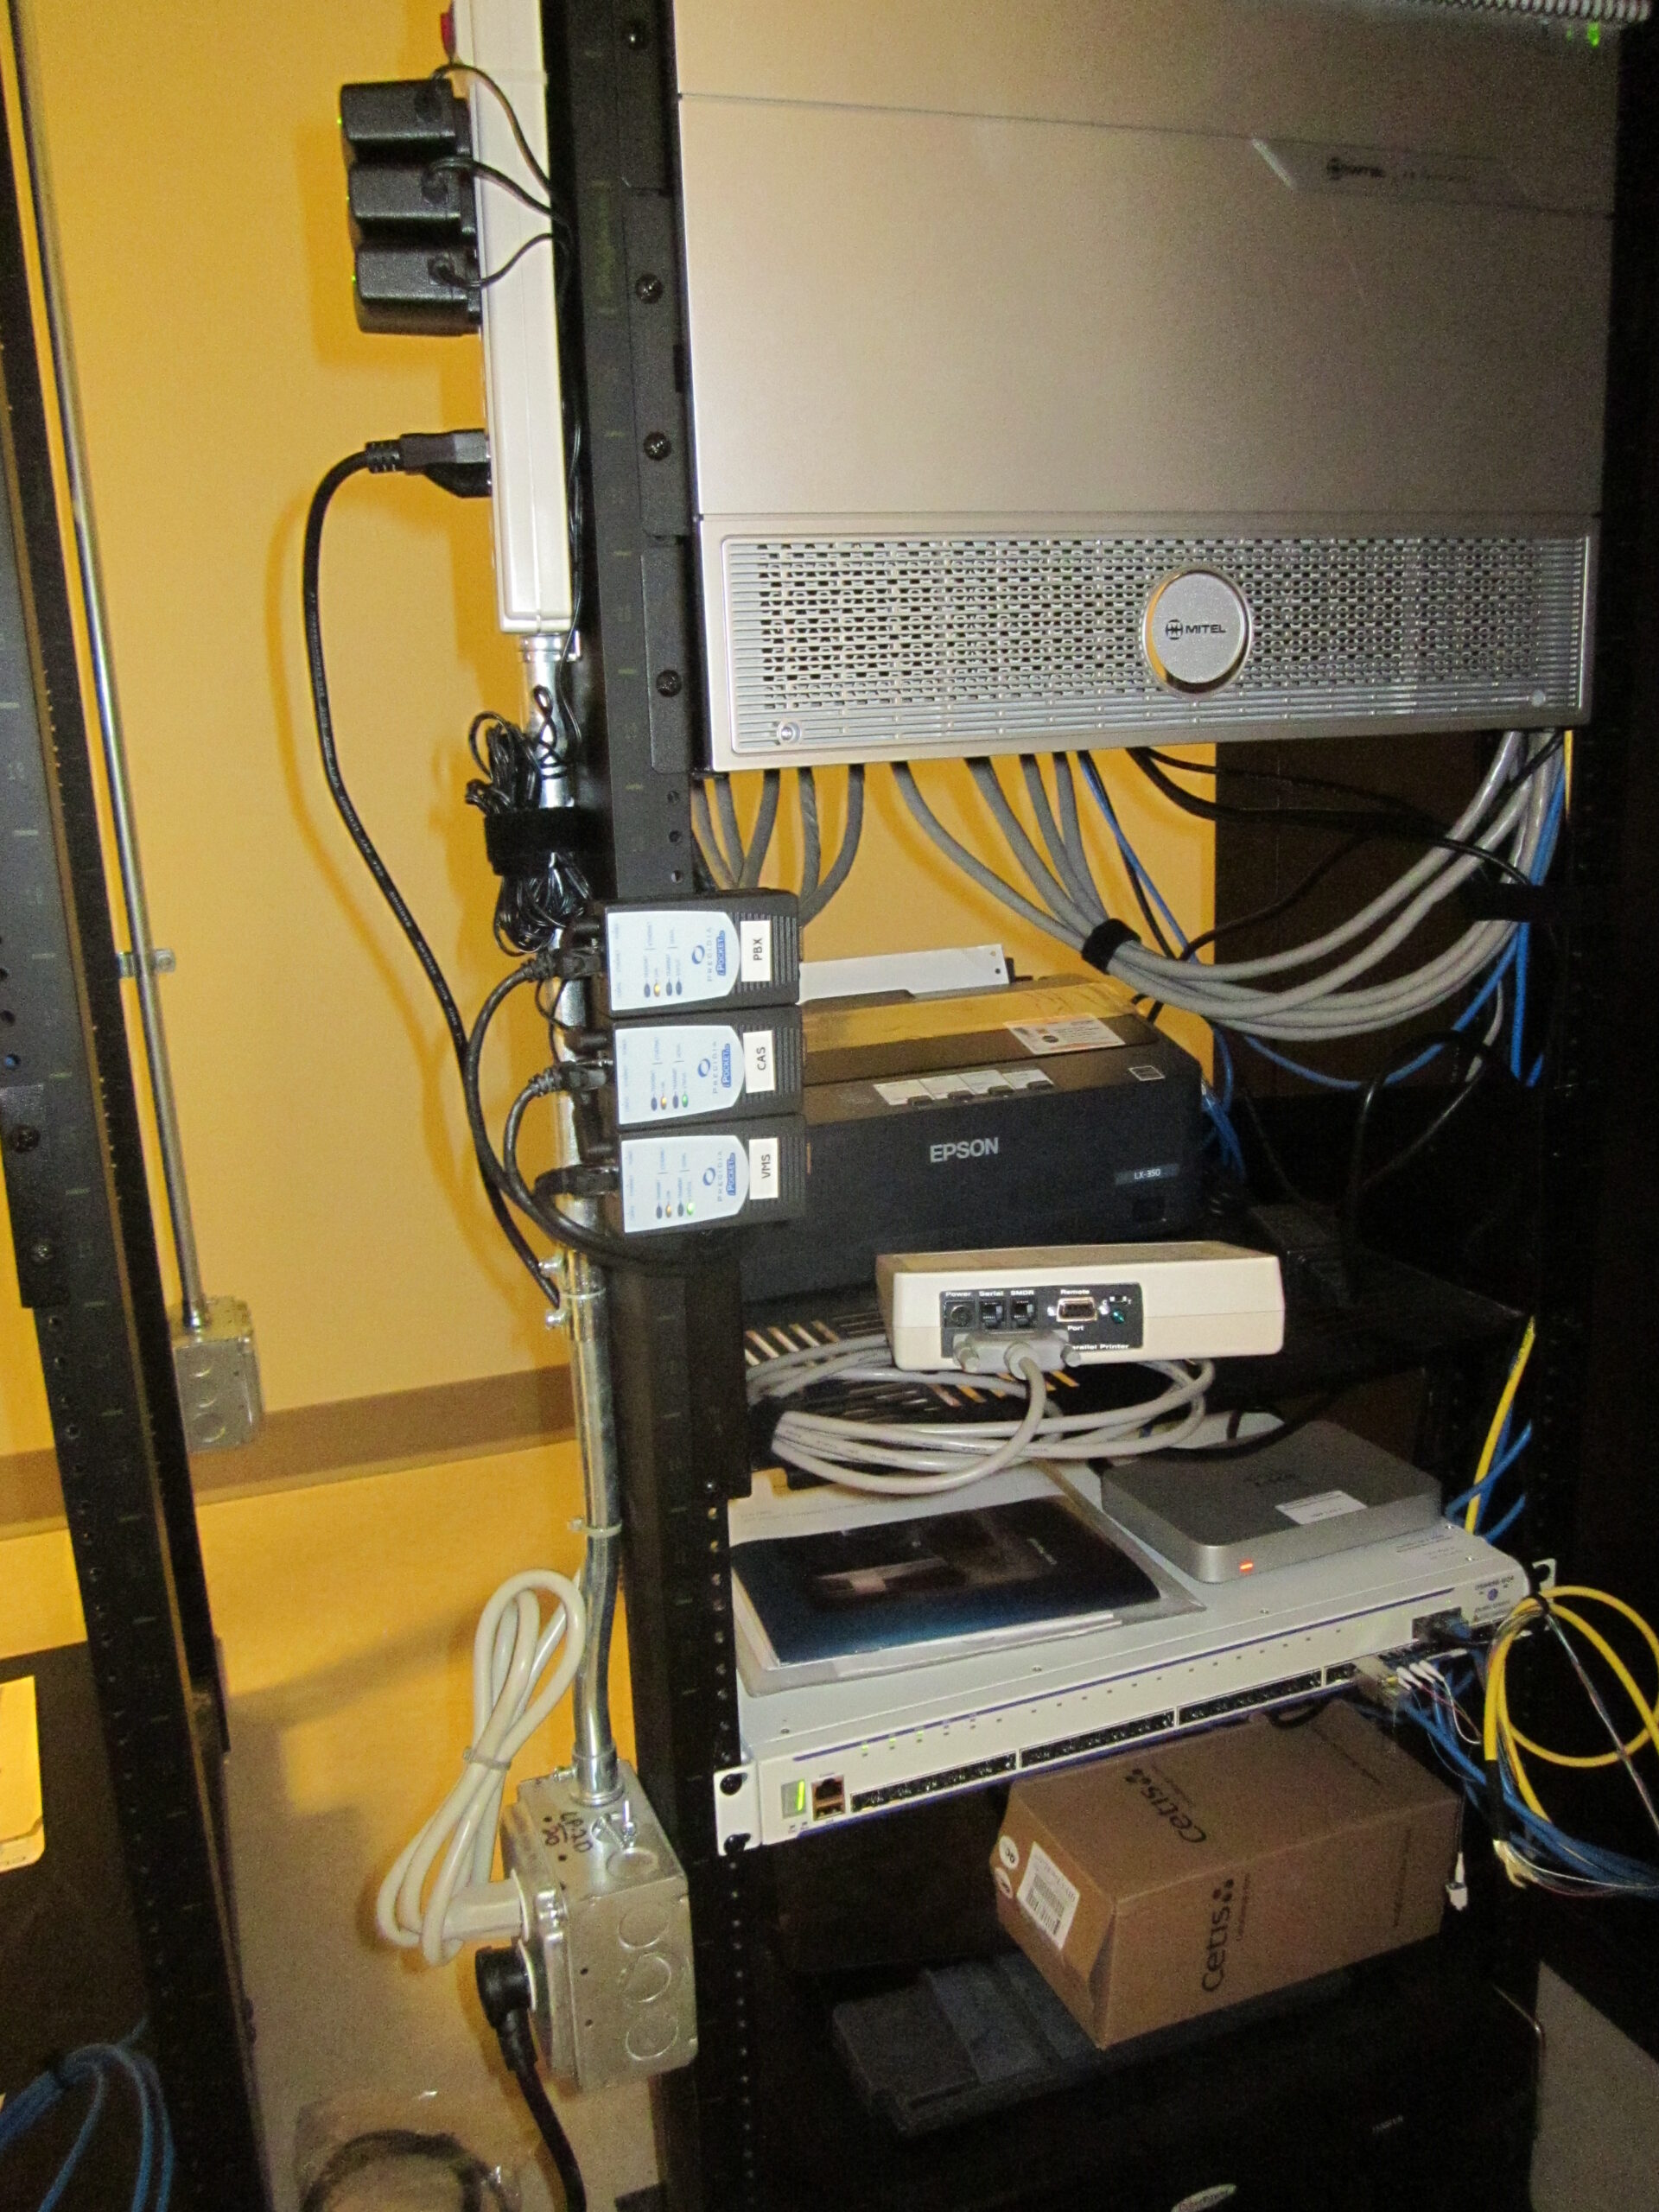
When a Property Management System (PMS) integration with a Mitel SX-200 system stops working, it can cause significant operational disruptions, particularly in hospitality settings where seamless communication is critical. If you’re using serial transceivers to bridge the IP and serial communication between the PBX and the PMS, there are several steps you can take to identify and resolve the issue.
1. Determine the Likely Cause of the Issue
If the PMS integration was functioning correctly in the past but has suddenly failed, it is unlikely that the problem lies with the programming of the Mitel SX-200 system. Instead, the issue is more likely related to the physical cabling or connections between the systems.
Key Considerations:
- Cabling and Connections: Physical connections are often the weak link in system integrations. Over time, cables can become worn, connectors can loosen, or environmental factors can cause damage.
- Programming Stability: Since the programming on the Mitel SX-200 is less likely to change on its own, the problem is more likely to be external, unless recent changes were made to the system’s configuration.
2. Check the Configuration in the Mitel SX-200
Even though cabling issues are the primary suspect, it’s still important to verify that the system’s configuration is correct, especially if the problem started after changes were made:
- Form 12: CCT Configuration
- What to Check: Confirm that there is a device programmed within the circuit range of 1/13/19 to 1/13/28. Note the associated extension for further checks.
- Form 34: PMS Assignment
- What to Check: Ensure that the extension identified in Form 12 is correctly programmed for PMS use in Form 34. This step is crucial for ensuring the PMS system can communicate with the PBX.
- Form 4: System Options
- What to Check: Verify that Option 108 (PMS Integration) is enabled. Depending on your system’s needs, ensure other relevant options, like Option 32 (Call Accounting), are also enabled.
3. Verify the Serial Transceiver Configuration
The serial transceivers handle the conversion between the IP network and the PMS’s serial communication. Ensuring they’re correctly configured is vital:
- Telnet Connection:
- What to Check: The serial transceivers should connect using a telnet client to port 613XX, where “XX” corresponds to the last two digits of the circuit found in Form 12. If this isn’t set up correctly, data from the PMS won’t be received properly.
4. Inspect the Cabling and Physical Connections
Given that the integration was previously working, focus on the physical aspects of the setup:
- Check Physical Cables: Inspect all cables connecting the serial transceivers to the Mitel SX-200 and the PMS system. Look for any signs of physical damage, wear, or loose connections.
- Re-seat Connectors: Disconnect and reconnect all physical connectors to ensure they are seated properly. This simple step can often resolve connectivity issues caused by loose or poorly connected cables.
- Test with a Different Cable: If possible, replace the current cable with a new one to rule out any cable-specific issues.
5. Check Serial Transceiver Communication Settings
Even though the serial transceivers manage the baud rate, ensuring that the serial communication settings match what the PMS vendor requires is essential:
- Baud Rate and Framing:
- What to Check: Confirm that the baud rate and data framing settings (e.g., data bits, parity, stop bits) on the serial transceivers match the specifications provided by the PMS vendor. Incorrect settings here can disrupt communication.
- Serial Transceivers:
- What to Check: Verify that the serial transceivers are functioning correctly. Ensure data is being transmitted and received without errors.
6. Consider Environmental and Power Factors
Environmental and power-related issues can also affect the stability of the PMS integration:
- Check for Damage: Look for any signs of damage to connectors or cabling, such as frayed wires or bent pins, that could affect the connection.
- Power Supply Issues: Ensure that both the serial transceivers and any related networking equipment are receiving a stable power supply. Power fluctuations can cause intermittent or complete communication failures.
7. Analyze Data Transmission on the Serial Link
If everything else appears to be in order, it’s important to check what data is actually being transmitted across the serial link:
- Data Monitoring: Some serial transceivers offer built-in tools to monitor the data being transmitted and received. If yours has this capability, use it to ensure that the correct data is flowing between the PBX and the PMS.
- Use of PCAPs and PMS Interface: In many cases, you might need to capture and analyze data using packet capture (PCAP) tools or review the interface on the PMS server itself to see what is coming over the line. This can help identify issues such as corrupted data, communication errors, or mismatched protocols.
- SX-200 Limitation: Note that the SX-200 itself does not provide a way to view or troubleshoot communications directly. This means you’ll need to rely on external tools or the PMS server’s diagnostics to assess the situation.
8. Final Thoughts and Next Steps
If all these checks fail to resolve the issue, a more in-depth investigation may be necessary. At this point, consulting with the PMS vendor for additional diagnostic support is advisable. They might provide specific tools or guidance tailored to their system.
While it might feel like you need to “sacrifice a chicken and pray to whatever god(s) you believe in” when dealing with such complex issues, a methodical approach to troubleshooting will typically yield results. By focusing on the likely physical connection issues and verifying key configuration settings, you can restore the integration between the Mitel SX-200 and the PMS, ensuring smooth operations once again.

