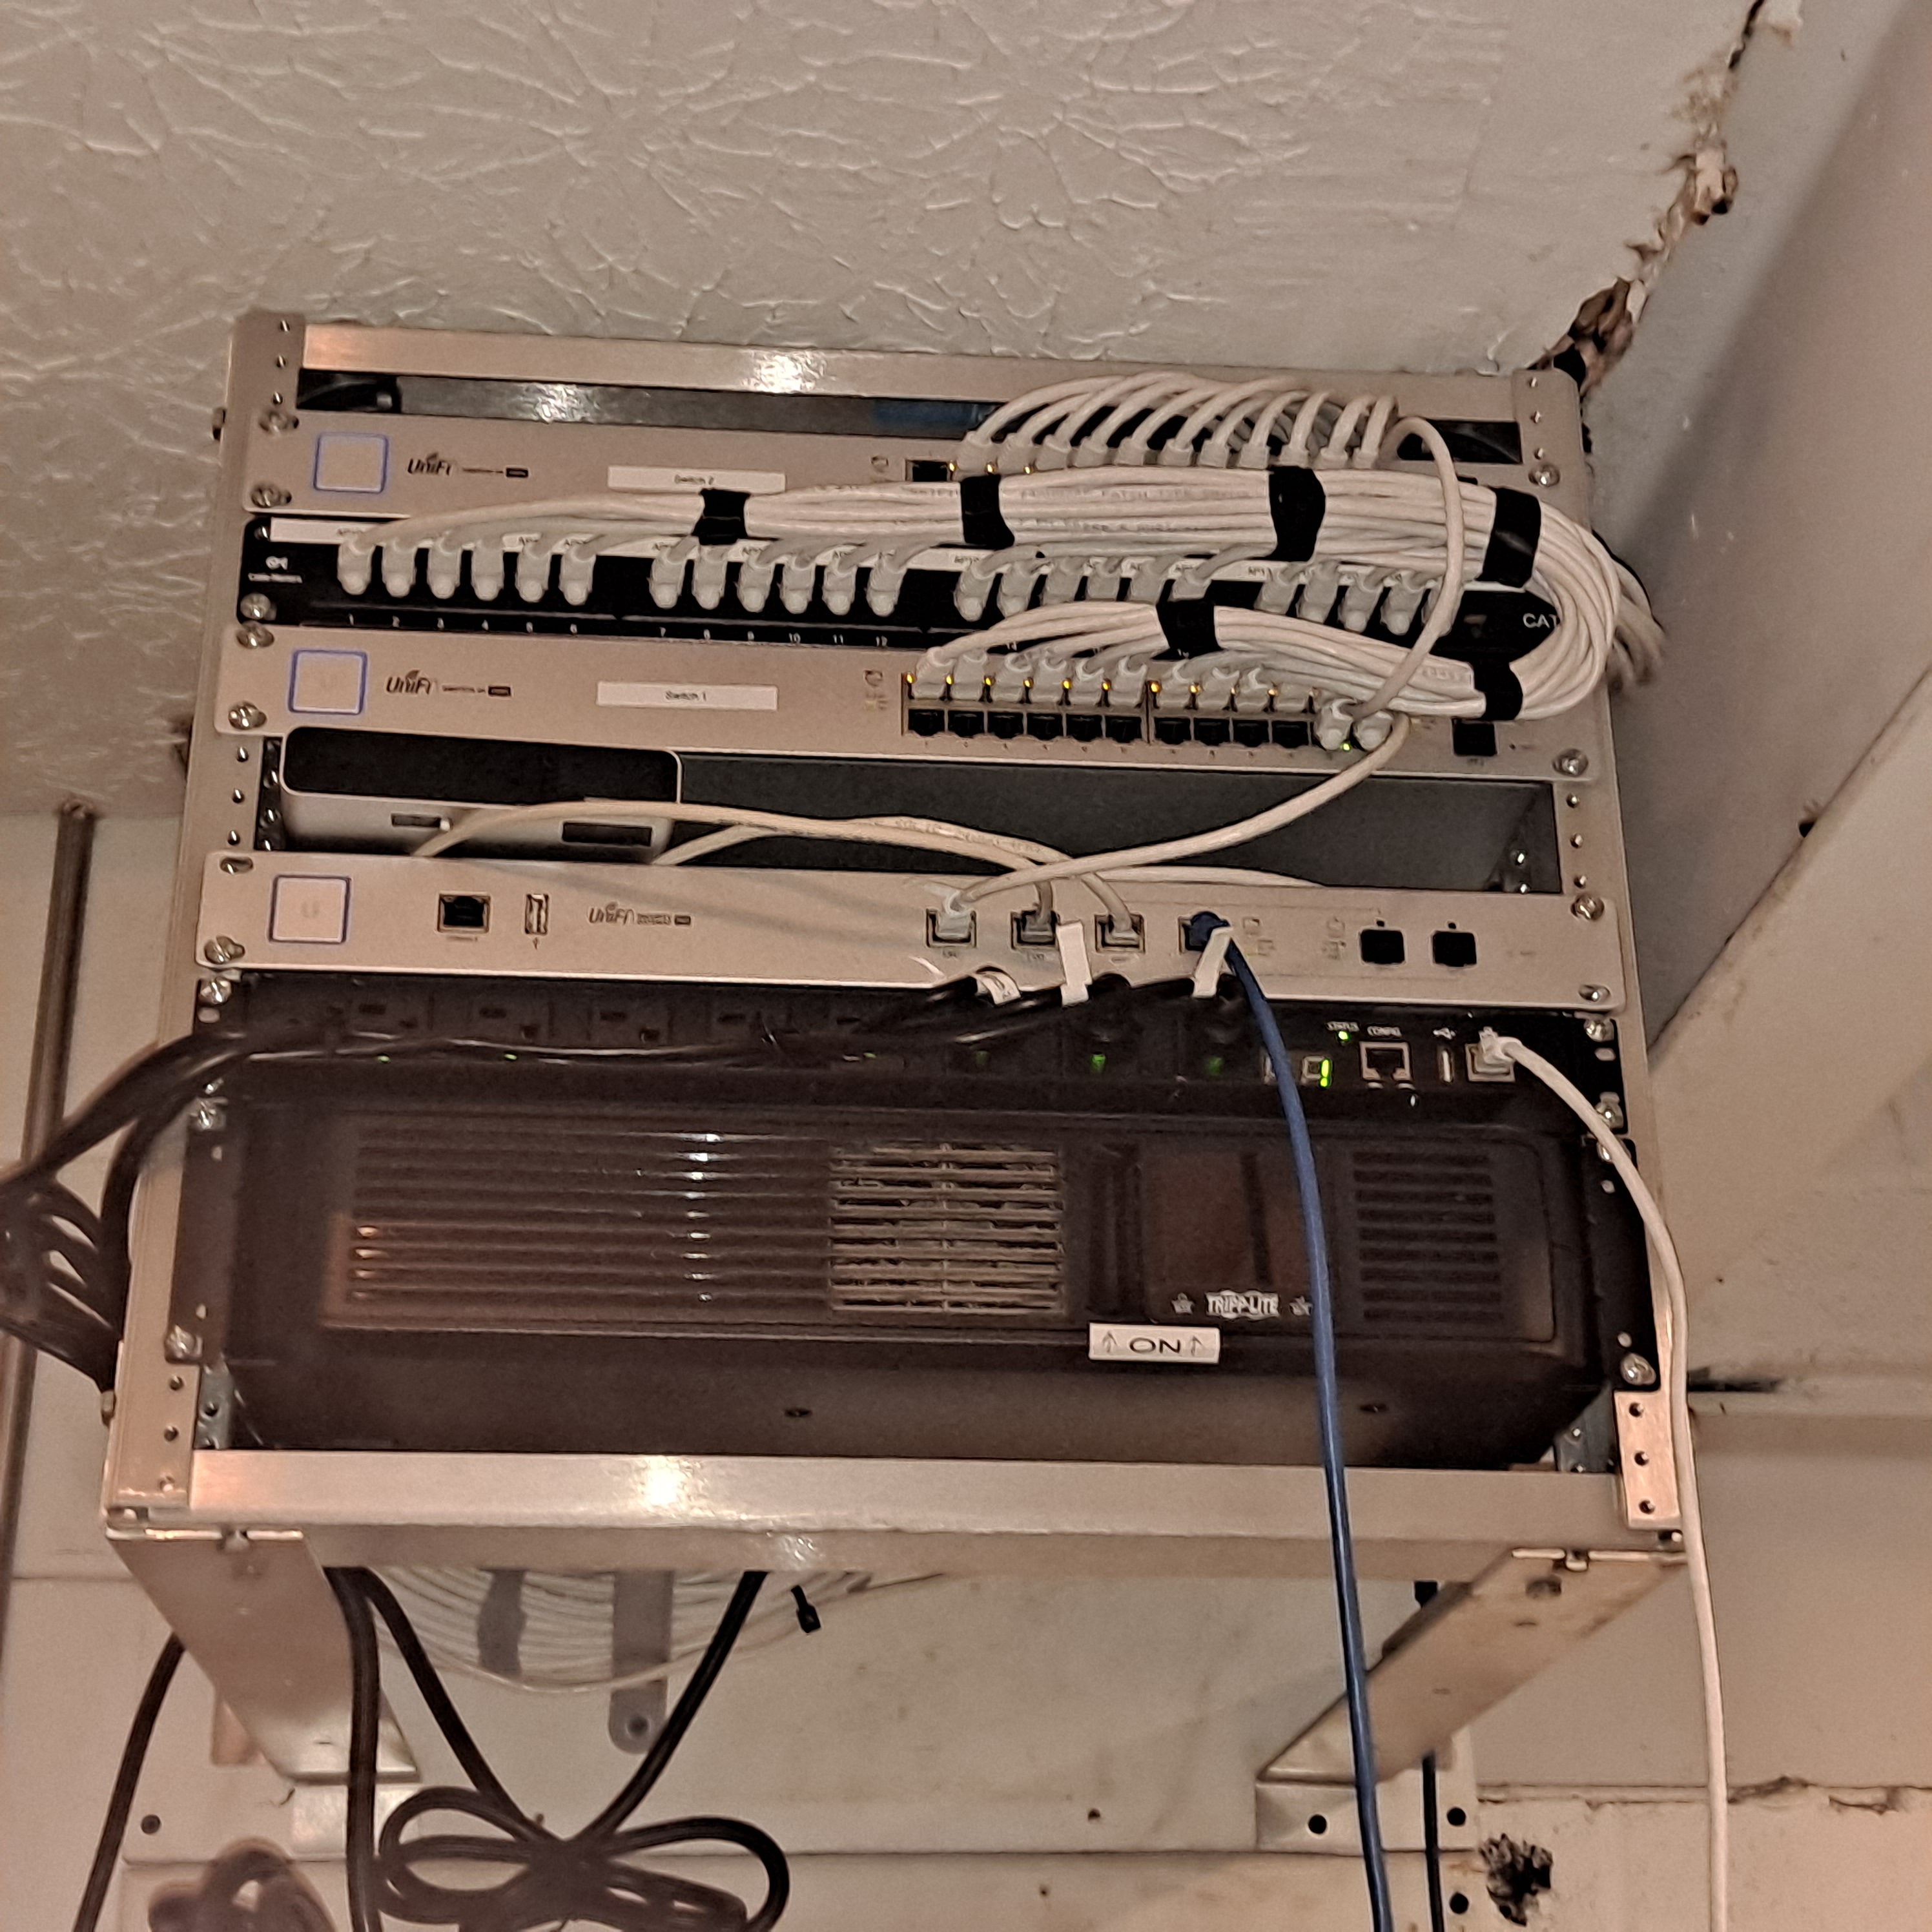
Resetting your UniFi Access Point (UAP) to factory defaults can be necessary in various scenarios, such as troubleshooting connectivity issues, preparing the device for a new installation, or clearing previous configurations. This guide will walk you through the three primary methods for resetting your UAP: via the UniFi Software Controller, SSH, and a physical reset. Each method is straightforward and can be completed with minimal tools and technical knowledge.
Table of Contents
1. Resetting the UAP via Software
If your UniFi Access Point is currently adopted and managed under the UniFi Software Controller, you can easily reset it to factory defaults directly from the controller interface.
Steps to Reset via Software:
- Access the UniFi Controller: Log into your UniFi Software Controller where your UAP is currently adopted.
- Navigate to Device Settings: Find the specific UAP you wish to reset in the list of managed devices.
- Perform the Reset: Within the device settings, locate the option to reset the device to factory defaults. Confirm the reset action.
- Reboot and Restore: The UAP will reboot automatically, restoring itself to factory settings. After the reset, the UAP will be in a state ready for re-adoption or reconfiguration.
This method is convenient when you have access to the controller and wish to reset the device remotely.
2. Resetting the UAP via SSH
For users who prefer command-line operations or do not have immediate access to the UniFi Software Controller, resetting the UAP via SSH is a quick and efficient method.
Steps to Reset via SSH:
- Access the UAP via SSH: Use an SSH client to connect to your UAP. You will need the device’s IP address and the login credentials.
- Execute the Reset Command: Once logged in, execute the following command:
syswrapper.sh restore-default. - Reboot and Restore: The UAP will immediately reboot and begin the process of restoring factory default settings.
This method is useful for advanced users who are comfortable with command-line interfaces and need to reset the UAP remotely or without access to the UniFi Controller.
3. Performing a Physical Reset
The most direct method for resetting your UniFi Access Point is through a physical reset, which involves pressing the reset button on the device itself. This method is ideal when you do not have access to the software interface or SSH.
Steps to Perform a Physical Reset:
- Locate the Reset Button: On the back of the UAP, find the small reset button. It is typically recessed in a small hole to prevent accidental resets.
- Press and Hold the Button: Using a paperclip or a similar tool, press and hold the reset button for 10 seconds.
- Release the Button: After holding the button for 10 seconds, release it. The LED indicators on the UAP will stop glowing as the device begins to reset.
- Do Not Disconnect Power: Ensure that the UAP remains connected to its Power over Ethernet (PoE) injector during the reset process.
- Wait for LED Confirmation: The UAP will restore to factory settings. Once the amber LED (or white LED, depending on your model) reappears and remains steady, the reset is complete.
After performing a physical reset, the UAP is ready for re-adoption or new configuration.
Conclusion
Resetting your UniFi Access Point to factory defaults is a simple process that can be done via software, SSH, or physically. Whether you’re troubleshooting, reconfiguring, or preparing the device for a new user, these reset methods ensure that your UAP can be quickly restored to its original state, ready for the next steps in your network management process. Choose the method that best suits your current situation and technical comfort level.

